Sunstone dev log 24: physically-based camera (round 2)
Finally back to the code! I’ve spent about a week wrapping my head around the theory required to use physical units in rendering. Now I have a decent grasp of what I need to build.
I thought I could introduce camera exposure with a single render pass, but it doesn’t seem like such a good idea now that I know the details. The main render pass uses MSAA, so its fragment shader writes to a multi-sampled colour attachment, which is resolved into a single-sample image at the end of the render pass. To do camera exposure in a single pass, I’d have to write radiance values to a multi-sampled image to be read by a compute shader to produce an average luminance for use in the next frame. At 4x MSAA, that’s a 4x memory overhead (compared to a single-sample image) to store an image that I just want to average. To avoid that memory overhead, the main render pass resolves radiance to a single-sample HDR image, and a second post-processing render pass performs camera exposure on the HDR image to produce a LDR image for presentation.
Fragment ray angles
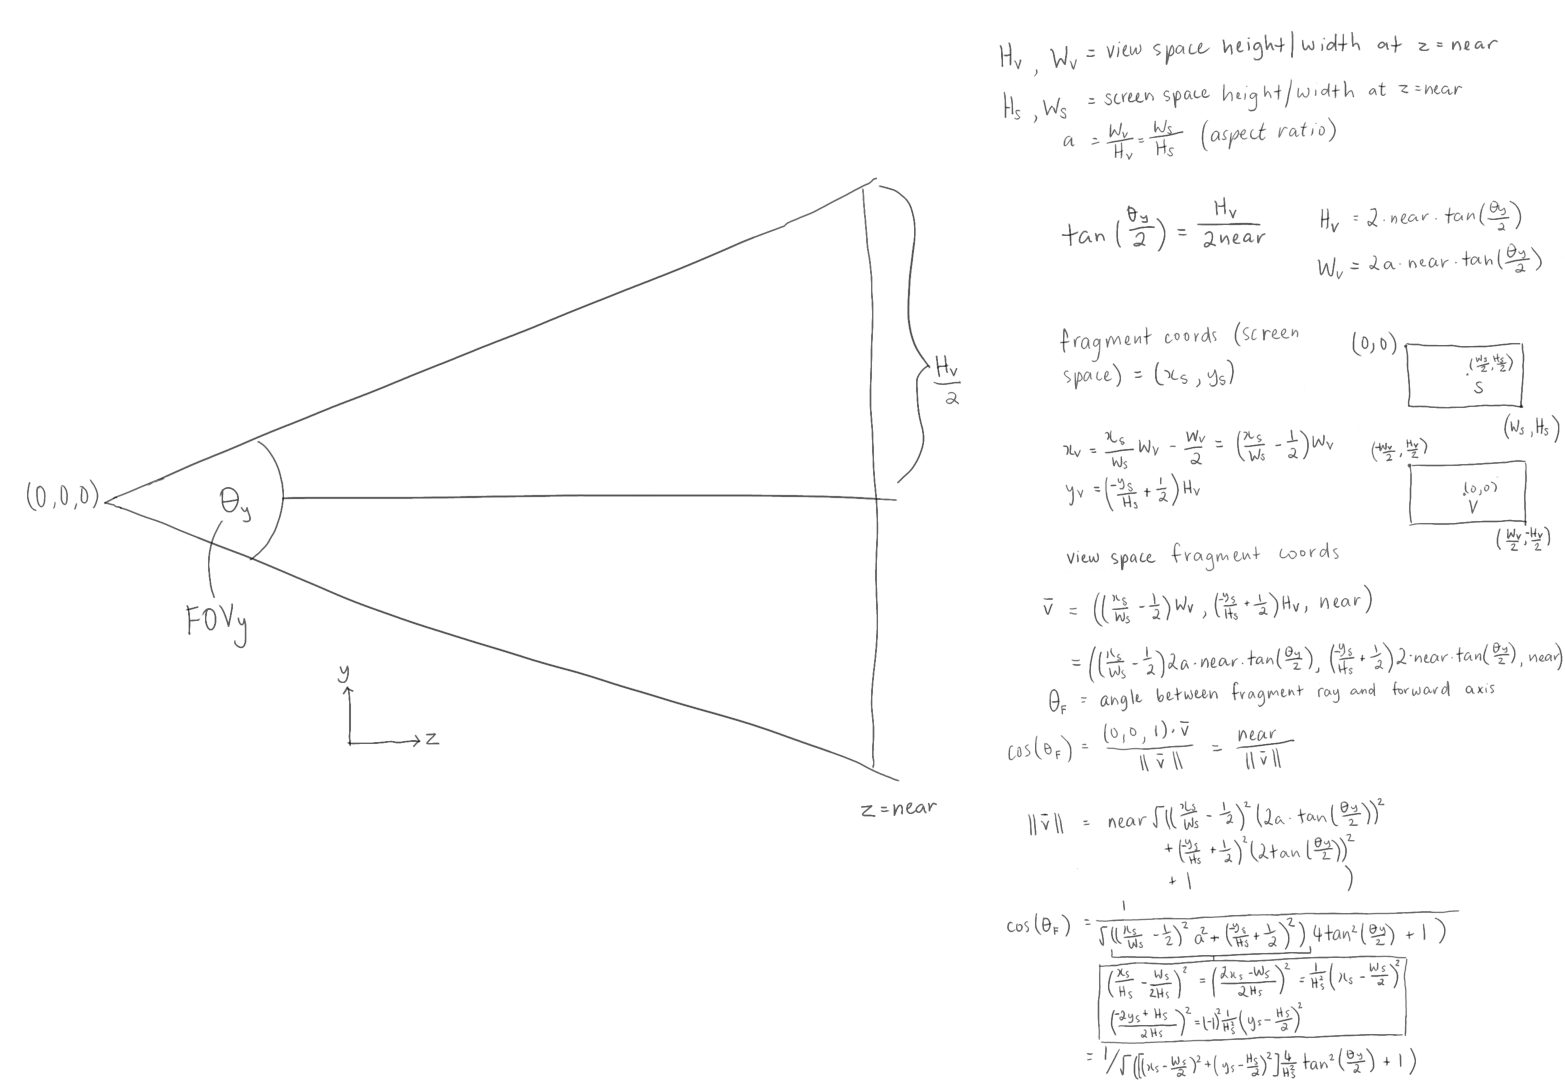
In the post-processing fragment shader I need where is the angle between the optical axis and a ray from the camera origin to the fragment. I was able to derive a formula for in terms of fragment coordinates:
where:
- are the fragment coordinates
- are the screen dimensions
- is the camera’s vertical FOV
Here’s my derivation:
Vignetting
is used to weight the radiant exposure by , which causes vignetting. The vignetting was subtle and I wasn’t sure that it worked:
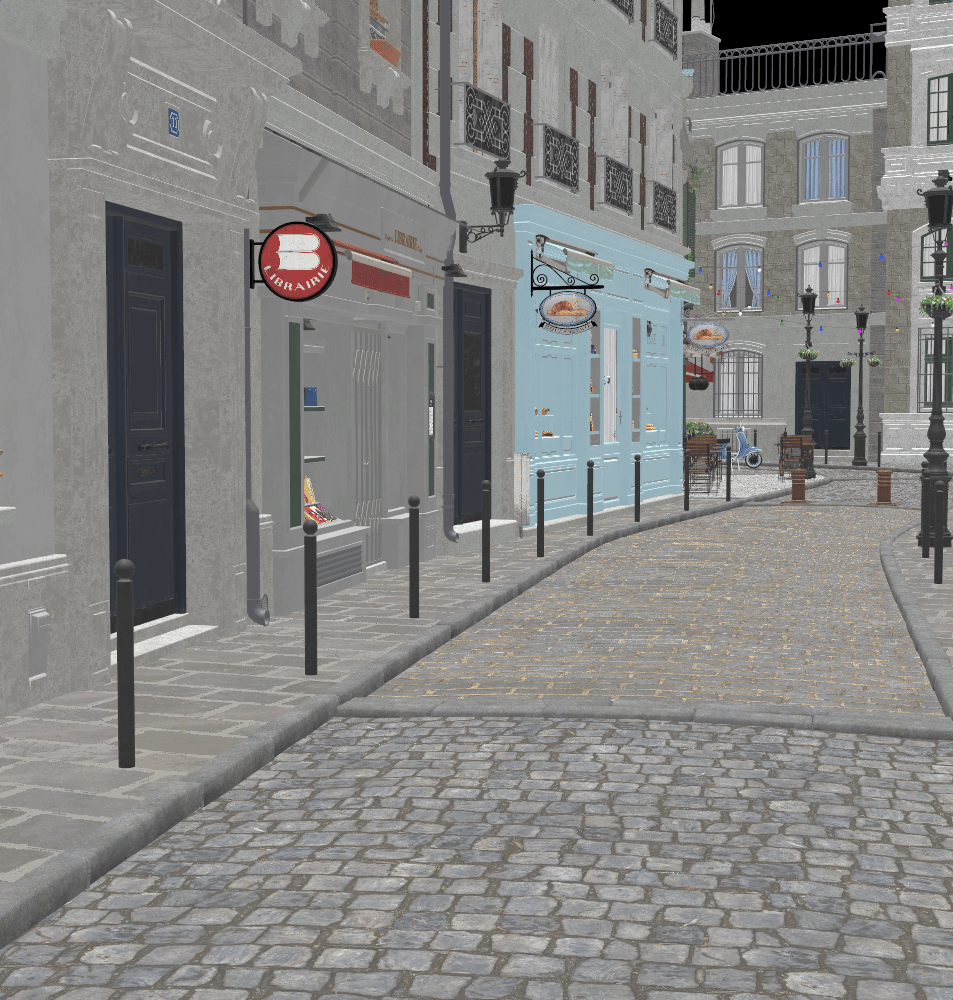
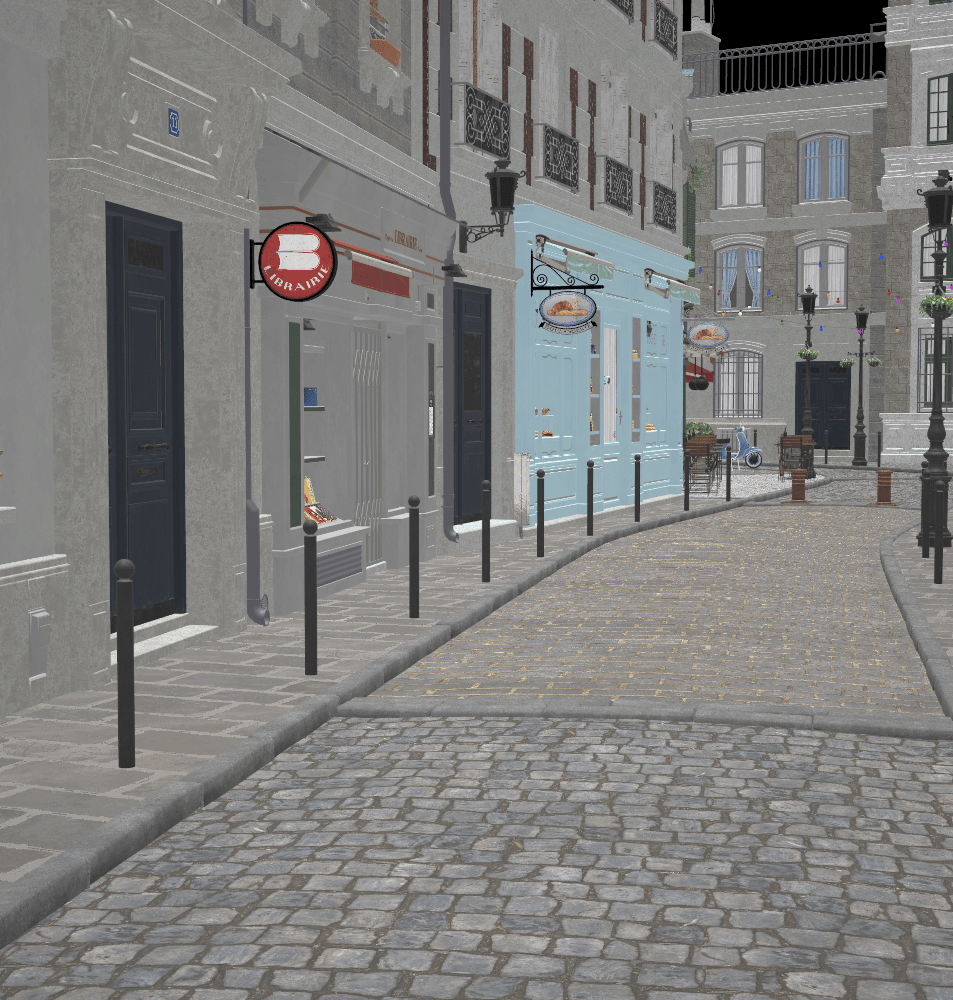
I captured before and after images and used GIMP’s “difference” blend mode to check whether there actually was a difference. That gave an image where black represented “no difference” and dark colours represented small differences. I found that hard to read, so I took the difference between that image and white:
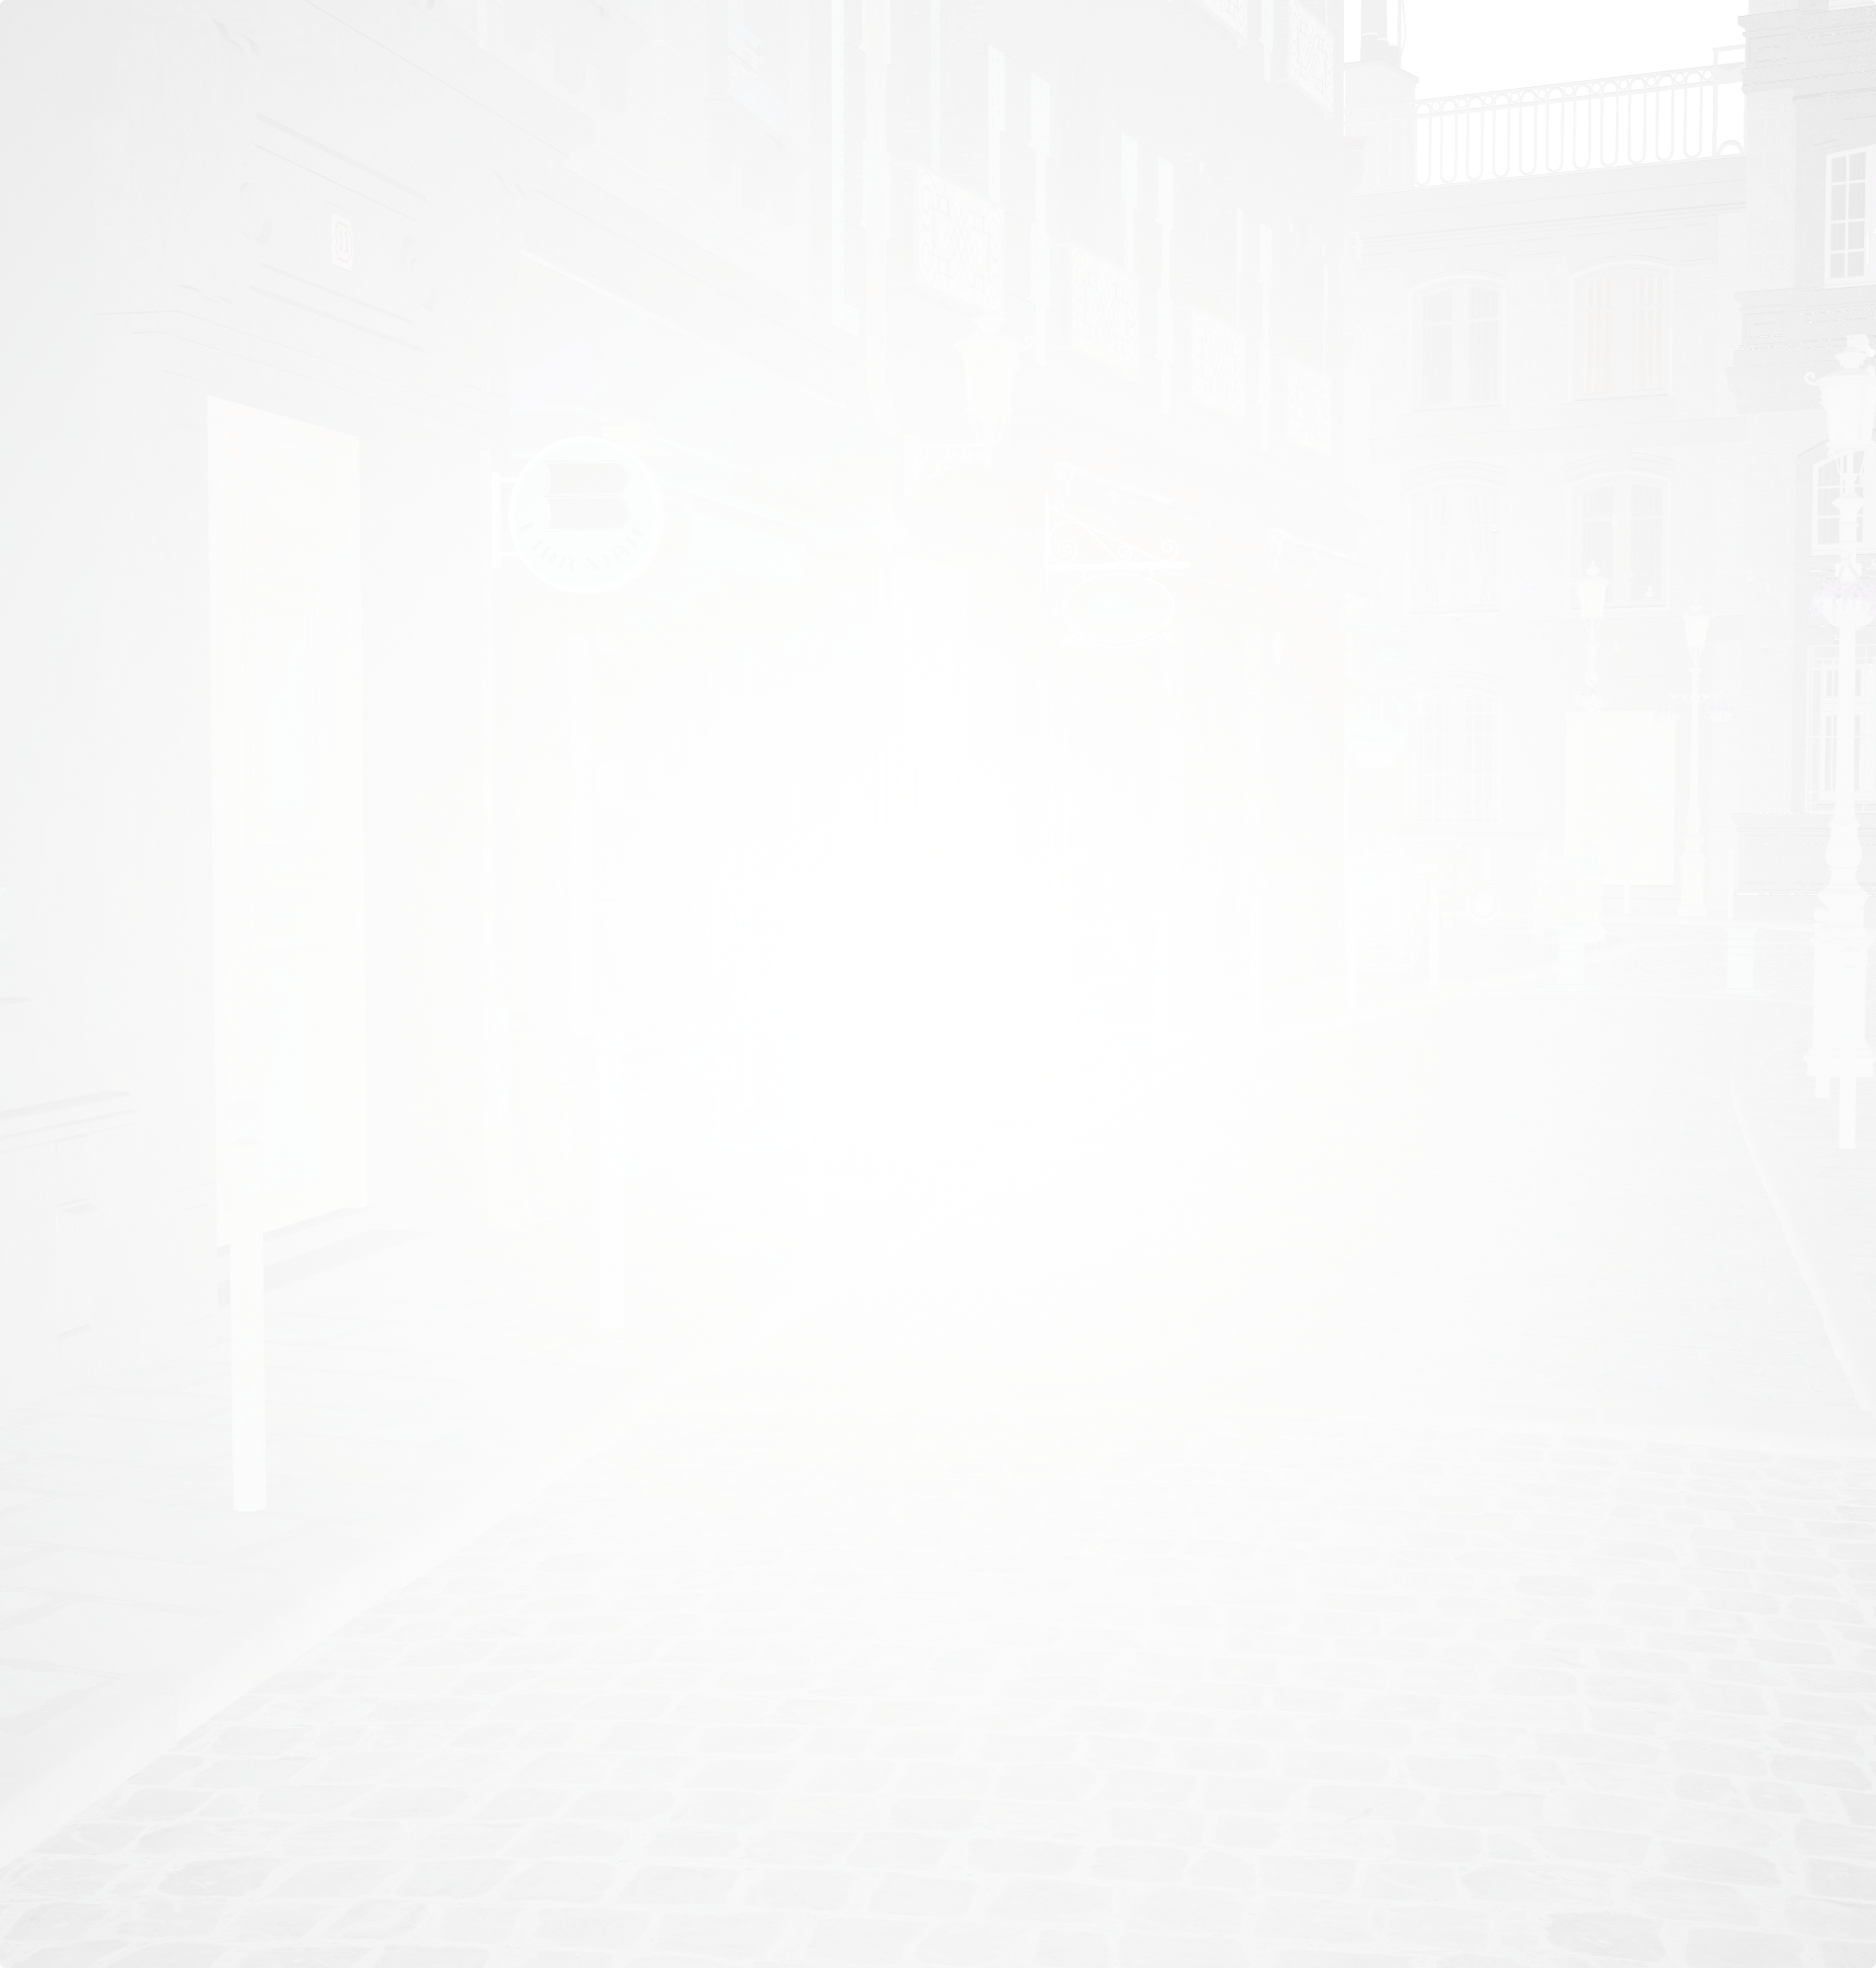
The center of the image is white (no difference), and gets darker toward the edges (difference increases). Looks good to me.
Next steps
- Use a compute shader to calculate average luminance
- Use average luminance for automatic exposure